The Scriptorium is my work journal; a place for show and tell.

Entries in Tips and Tricks (15)

Tuesday
Jan312012

To Save an Envelope

There is nothing more frustrating than to discover small errors when proofreading finished envelopes.  Thankfully, though, most of the time small errors can be repaired and the envelope saved.  I'll show you step by step how I do it:

In this case, I've misspelled the last name.  Tushscherer should be Tuchscherer, so the 's' has got to go and it must be replaced with a 'c'.

The first thing is to gently shave the letter off the paper using a curved exacto blade.

Like so:

After brushing away the fibers, it doesn't look to good, does it?

This is what it looks like after the Pentel Hypereraser does its magic!

There's still a bit of a smudge we'll have to take care of, though.  Bring on the Staedler Mars Plastic eraser!

Last step is to gently burnish the spot to get the disturbed surface of the paper ready to receive ink.  I use a piece of glassine paper and a bone folder to gently rub over the surface.

Now it's ready to be lettered over!

Voila!  Only your calligrapher knows for sure!  ; )

Saturday
Sep112010

My Favorite Things: Ultrasonic cleaner

Here's how I set up my ultrasonic cleaner:  I put a small, glass jar of cleaning solution in the water bath.  Today I am using sumi ink, so the solution is 1/2 Simple Green, 1/2 water.  When I'm using acrylic inks, I use a cleaning solution with ammonia.  Sometimes, I use both in which case I have two little glass jars in the water bath.

To clean, I wipe the nib free of excess ink, remove it from the pen staff, plop it in the solution and let it go for 90 seconds or more.  Then I take the nibs out and run them under running water, dry it off and it's ready to go!  No scrubbing with toothbrushes, which can effect the tines.  No need to clean under the reservoir which can bend it.

I only use the ultrasonic cleaner for broad nibs; pointed nibs are easy enough to clean without it. 

Since I've been using the ultrasonic cleaner, my broad nibs are lasting a lot longer.  If the phone rings or someone comes to the door, it's a simple matter of plopping the nib into the cleaning solution and giving it an ultrasonic 'spin!'

How about you?  Do you use an ultrasonic cleaner?

Friday
Aug202010

My Favorite Things: Photo Light Box

Here's an easy project:  make your very own photo light box.  I've been wanting one of these for some time so I did a quick internet search and found instructions here.  What could be cheaper (and easier!)

Ok, so it's not great looking but it really is a handy little tool!

And here you see another of my favorite things:  this cute little glass pencil sharpener.

Thursday
Aug122010

My Favorite Things: My "Eraser Station"

Here's my 'erase and correct' station.  I thought I'd share a picture while it is still neat and tidy after yesterday's spill clean-up.

This is one of my favorite banker's wells.  It's got great nooks and crannies for supplies.  As you can see, I've got quite an assortment of erasers at hand--some erasers work better on some papers than others, don't you think?  I also have an exacto knife--some papers will allow a gently scraping to remove ink, a tiny little brush for sweeping away the erasure crumbs, and a water filled brush.  Sometimes scraping and erasing can lift the fibers of some papers, and I've found that gently brushing over the spot with a damp brush and then laying another piece of paper over it while it's still damp and pressing down will lay those fibers right down.  Well, sometimes it works.  

Did you notice that I used the words 'some' and 'sometimes' a lot?  That's because nothing works every time.

Do you have any tricks for correcting mistakes and erasing errors?  If so, I'd love to hear about your techniques.

Tuesday
Aug102010

Excellent Resource: Design *Sponge

I've been reading Design *Sponge for a few months now.  It's not directly related to calligraphy but it is a wealth of visual inspiration and design.

Today Grace uploaded a video she made about how to stay focused and productive.  I thought about going and grabbing the YouTube URL but instead I'll share the link to the post so you can watch the video there and then while you are there you can go feast on images and ideas.

Seriously good stuff.

I'm off now to check out The Pomodoro Technique Grace mentioned on the video. . .

Tuesday
Aug102010

Tips and Tricks: Nib Size reference 

Here's a little tool I made for myself as a reference when I'm making guide sheets:

What you see is the front and back of the original single, bookmark-sized reference list.  It was getting a bit messy so I mounted it and laminated it so it would hold up better and be easier to find in the paper explosion that is my drawing board.

Friday
Aug062010

Homemade Portable Light Box

Necessity, they say, is the mother of invention.

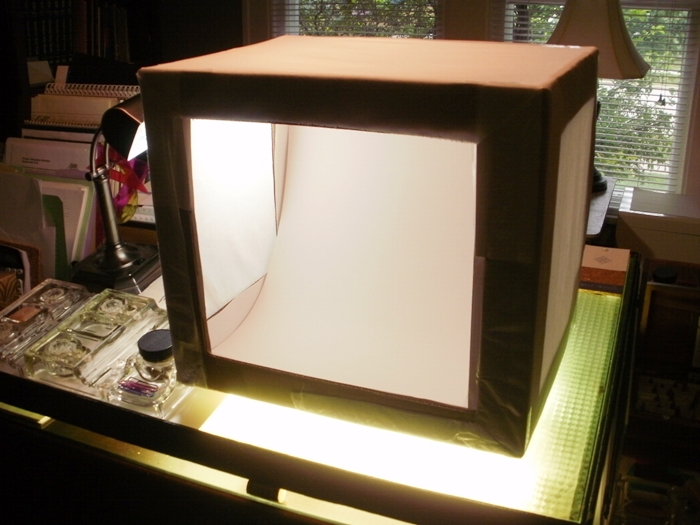
Many, many years ago I made this light box out of an old shirt box out of necessity.  I had promised to scribe some bookmarks at a church Family Fun Fair but my lighted drawing board was too big and bulky to take along. My little box wasn't very attractive (I think it said Kohl's across the top) but it worked great.  I've used it off and on and it's proven to be pretty sturdy.

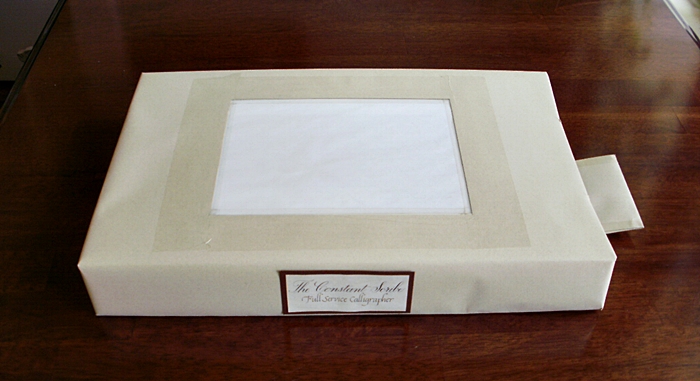
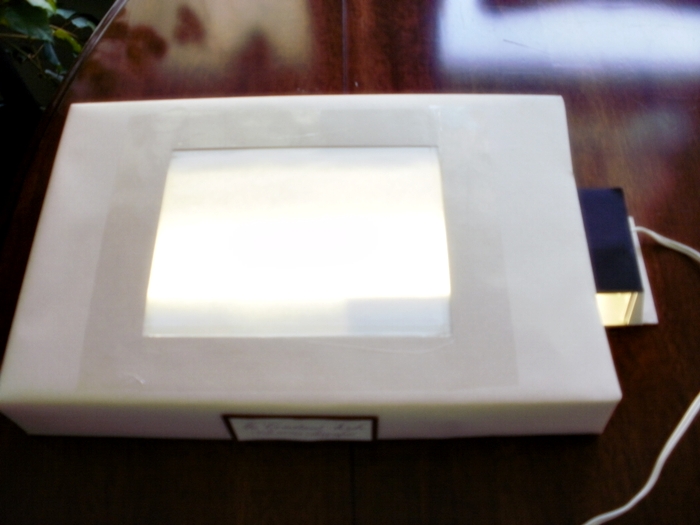
Last spring, I wanted to use it at a Bridal Fair, but it looked pretty beat up, so I covered it with paper and slapped a logo on the front.

In hind sight, I wish I had taken photos of it before I covered it but hopefully, with the photos, you'll be able to see how I did it and maybe make one for yourself!

To get started you'll need a standard shirt box, an 8 x 10" piece of glass, duct tape, scissors, exacto knife, a ruler, and an 18" under-the-counter fluorescent light fixture.

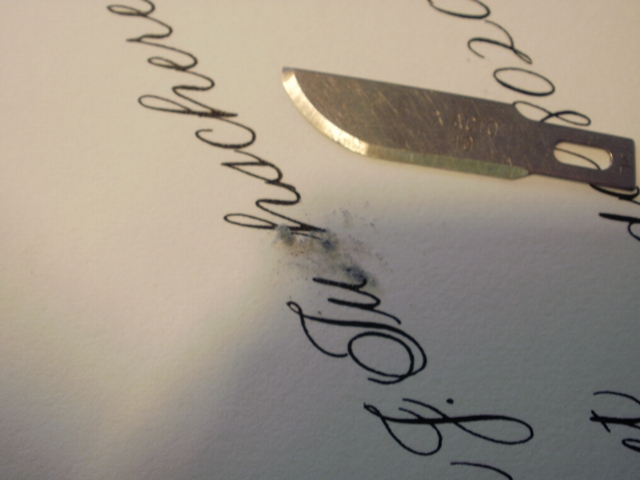
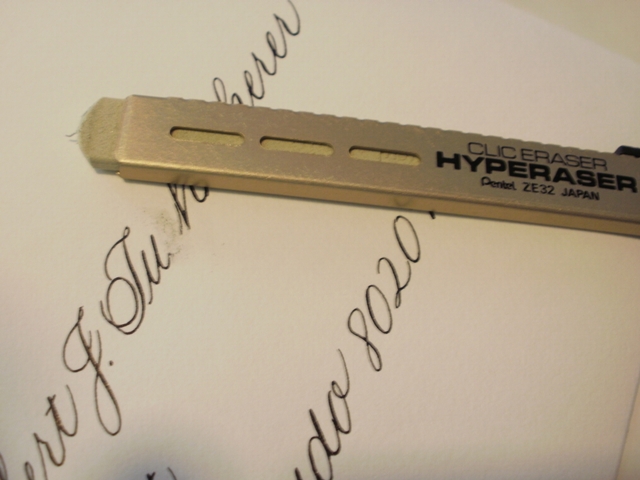
Working with the top box lid facing down, draw diagonal lines from corner to corner on the inside of the box lid to find the center.  Using those lines as a guide, lay the glass down on the inside of the box top, center it, and trace around it.  Set the glass aside.  Now, using the ruler, make a rectangle inside the one you just traced, measuring 1/2 inch in on all sides.  Laying the shirt box top on a surface safe to cut on, cut out the inner rectangle using a ruler and exacto knife (or you could use a rolling cutter).  You'll need to cut a piece of translucent paper the same size as your glass and tape it securely to the glass.  Now, lay the glass back down where you centered it, (glass side down, paper side up) and secure with duct tape.  Flip the lid over and using clear tape, tape around the opening, securing the lid to the glass from the outside.


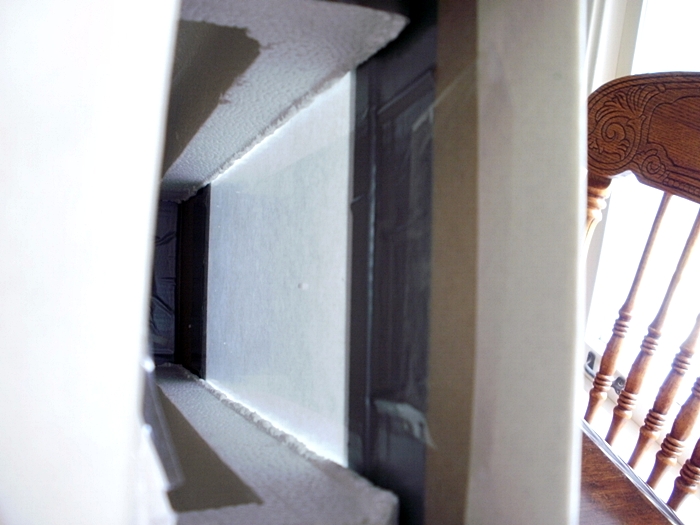
Peeking inside mine, you can see the glass taped to the lid with duct tape.

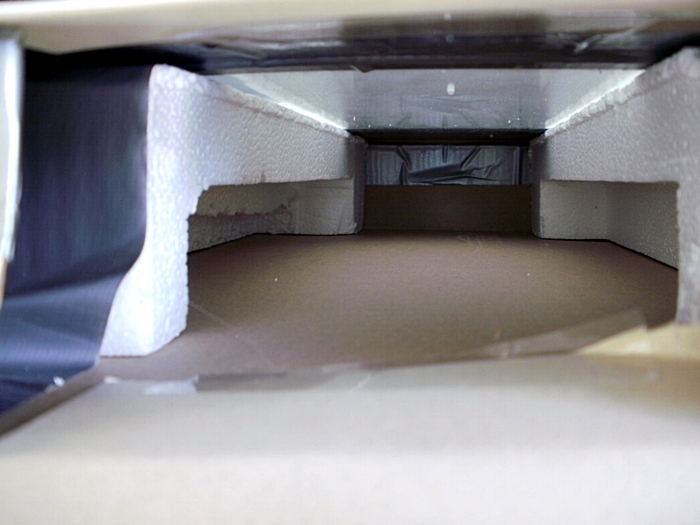
Next, trim some sturdy pieces of styrofoam to run the length of the inside of the box.  If you're lucky, like me, you'll find some that will work without too much trimming.  You'll want them big enough to support the sides of the glass.  Tape them into place securely with duct tape.

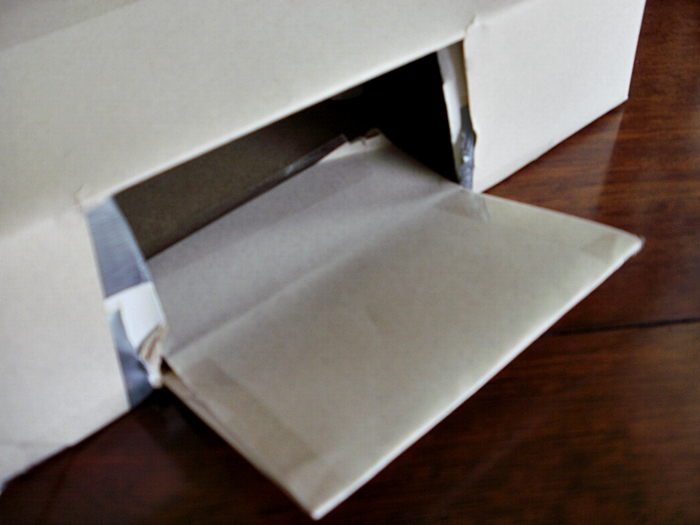
Now, put the lid on top of the bottom and cut a hole in the side all the way through the lid and the side of the box, big enough to slip in your light fixture.  I left a flap but I don't know why.  You don't really need one!  Tape the lid of the box and bottom together.

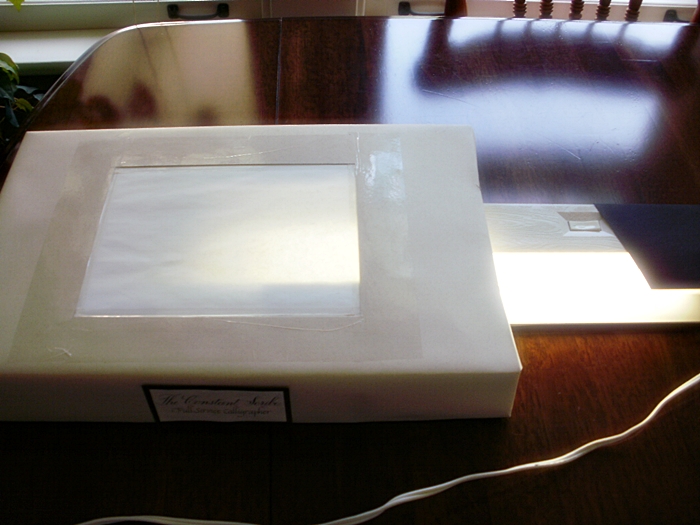
Put your light fixture in the side, plug it in, and you're ready to go!

Clear as mud, right?  If you decide to make one and you have problems or questions, just let me know and I'll try to help!  If you do make one, send me a picture and I'll add it to this post!

Thursday
Aug052010

Nib Storage

This is an easy way to store nibs.  Just measure the depth and length of your wooden box, then cut pieces of corrogated cardboard to size and line them up one after another until the space is completely filled.  It's easy to cut the cardboard with a quilters ruler and an exacto knife.  The labels are be made of slightly taller paper and the nibs slip right into the curvy spaces created in the cardboard.

Instead of sifting through tins, finding the right nib is now just a glance away. . .

Sunday
Aug012010

M Favorite Things: Homemade Pen Solution Recipe

Here's an easy solution for cleaning pens.  It's especially good for cleaning acrylic inks from nibs:

3-1/4 cups water
1 cup ammonia
1/4 cup rubbing alcohol
1 tsp. dish washing liquid

I use an ultrasonic cleaner to clean broad nibs, so I go through quite a bit.  It's easy to double or triple the recipe and store it under the drawing board in a washed out milk jug.

For pointed pen nibs, there is another 'homemade' pen cleaner I like to make:

This one still looks fairly presentable because I only just cut the potato in half and wrote a few lines so that I could snap a photo of this tip.  After a day of use, it looks pretty nasty.  I can use the same potato for two or three days. Red potatoes have very thin skin so once the flat cut side gets mushy, you can place it flat side down on a saucer and keep using the potato for a few more days.  Keep an eye on it thought, it might go moldy.

It's great to have a potato at the ready in case the phone rings or someone comes to the door--just stab the tip into the potato and off you go!

Saturday
Jul312010

My Favorite Things: Moon Palace Sumi Ink

Because I am always curious about tools and materials that are preferred by other calligraphers, I thought I'd do a series about some of my own favorites.

The first thing that popped into my mind was Moon Palace Sumi Ink.  Inky, dense, jet black--it's my all time favorite ink for broad pen.  I also like to use it with pointed pen when I need a rich, deeply black ink.  The hair lines are fine--not as fine as some other inks--but still nice.  It's especially nice for pieces that will be reproduced or copied.

Moon Palace is relatively easy to remove when making corrections.  It tends to lay on top of most papers, so you can carefully, gently scrape it off the surface, sometimes without any further treatment. 

It is said to be waterproof when dry, but I've found that it's reallly more water resistant.  (I'll be sharing my favorite waterproof ink in another post.)  Clean up is easy.  I read somewhere that a 50/50 solution of Simple Green and water is best, but I just use my regular home made ammonia based cleaning solution and it works just fine. 

I store the ink in a small bottle with a dropper to make it easier to decant into a dappen dish--just squeeze out a couple of droppers-full into a dappen dish and you're ready.  When you're done working, if there's any left in the dappen dish, it's a simple thing to suck it back up into the dropper to transfer it back to the bottle--no waste!

Moon Palace has a distinctive, but not unpleasant odor.