
 The Constant Scribe

Using a Phantom Liner
The Phantom Liner can be a calligrapher's best friend and a true life saver, but it can also be unbelievably frustrating. Setting it up properly and keeping it set up properly will go a long way toward avoiding a lot of the frustrations.
Here's what I do to make sure my Phantom Liner doesn't shift or shimmy while I'm working:
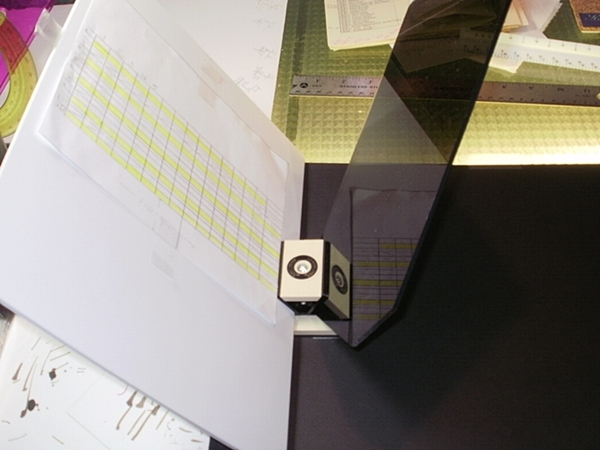
The first thing I do is tape a large piece of paper onto the surface of my drawing board, then place the assembled Phantom Liner on the paper. Once you have it adjusted to a position that is comfortable for you to work from, carefully trace around the base of the Phantom Liner. Next, place the guide sheet that you want to project onto your work surface and tape it securely to the white board which is positioned on the left.

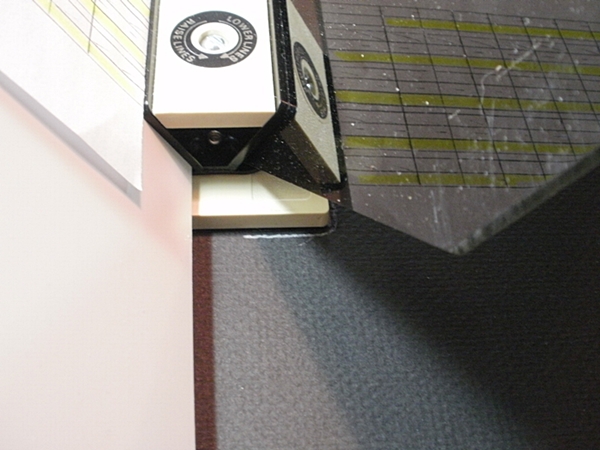
After you've got everything positioned the way you want it, carefully start taping the base of the Phantom Liner to the paper. Since it's so top heavy, it's really easy to bump the device while you're reaching under there, but since you've traced the footprint of the base on the paper, all you have to do is line it back up and tape away!

Once you've got it all taped down, take a piece of paper cut to the same size as the envelope to be addressed and mark a horizontal line in the middle of the paper. Lay the paper under the see through/ right side of the Phantom marker and line it up with your guidesheet. Mark the four corners.
Now just place an envelope under the right side and line it up with the four corners. Your envelope will be positioned squarely with your guidesheet so you won't have to worry about crooked lines.
That solves the problems of bumping the device or inadvertantly placing the envelopes crookedly.
I haven't yet come up with a strategy that will help with that 'writing in mid air' feeling, but just knowing that the whole device is stable really cuts down on the frustration!
 Kim
Kim
If you've landed here because you are looking for a place to buy a Phantom Liner, you can find one at Paper and Ink Arts.
Phantom Liner, Tips and Tricks, envelopes
Reader Comments